UDlive Pixel II Showcase - Installation
Watch the installation of the Pixel II Water Level Sensor in a real-world scenario.
UDlive
Share:
Watch the installation of the Pixel II Water Level Sensor in a real-world scenario.
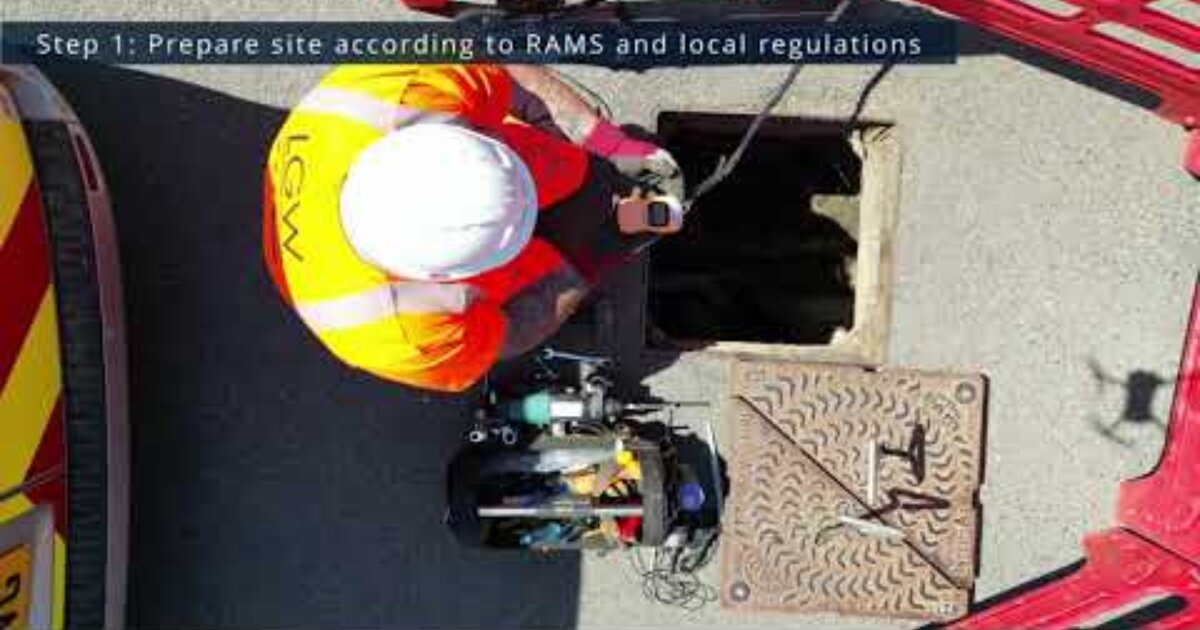
This video is a walkthrough of the installation process of the Pixel II device, including preparation and troubleshooting steps, and the installation of an above-ground antenna.
Following local regulations, the Pixel II sensor is installed beneath a manhole; where a suitable mounting location is selected. The mounting bracket is subsequently installed followed by the device itself. The device's position is then adjusted precisely with the help of an alignment tool, and fixed into place.
Once in place, the alignment tool is removed and installation mode is activated on the Pixel II by double-pressing the button. The distance from the sensor is then measured and inputted into the system. After this, the device is verified to be working correctly - though adjustments can be made at this stage.
With the Pixel II installed, the manhole cover can be reinstalled. To ensure smooth operation, the signal strength is checked. If the signal strength is good, the installation is completed.
However, with a poor signal strength, an above ground antenna is installed within 30cm of the device, after ensuring there are no underground cables. Holes are drilled for the antenna and cable; the cable is then routed to the Pixel II where the previous antenna is disconnected and replaced with the above ground antenna cable. The cable hole is then plugged and the antenna is potted.
A final signal check is carried out, and with a good signal, the installation is complete
To find out more, head to our Pixel II product page by clicking here.
Subscribe to our email newsletter
This site is protected by reCAPTCHA and the Google Privacy Policy and Terms of Service apply.